
Click-to-WhatsApp Ads
Run Facebook and Instagram ads that open a WhatsApp chat. Where Click Ads lives in Scope Wiser, what each campaign step asks for, how icebreakers work, and which numbers to watch.
A Click-to-WhatsApp ad looks like an ordinary Facebook or Instagram ad, except its button opens a WhatsApp chat with you instead of a landing page. The person lands in a conversation, and from that moment they are a WhatsApp subscriber you can answer, qualify and follow up.
What you need first
Three things, and the ad will not run without any of them:
A WhatsApp Cloud API number connected to Scope Wiser. How to Connect WhatsApp to Scope Wiser: Complete Setup Guide covers this if it is not done.
That number linked to the Facebook Page you will advertise from. Meta routes ad clicks into a chat thread on the linked number. Without the link, people see errors or land in the wrong place, and Ads Manager cannot attribute the conversation.
A Meta ad account you can spend from, connected to Scope Wiser.
You also need something for the bot to say. Build that flow before you spend money, not after.
Where Click Ads lives
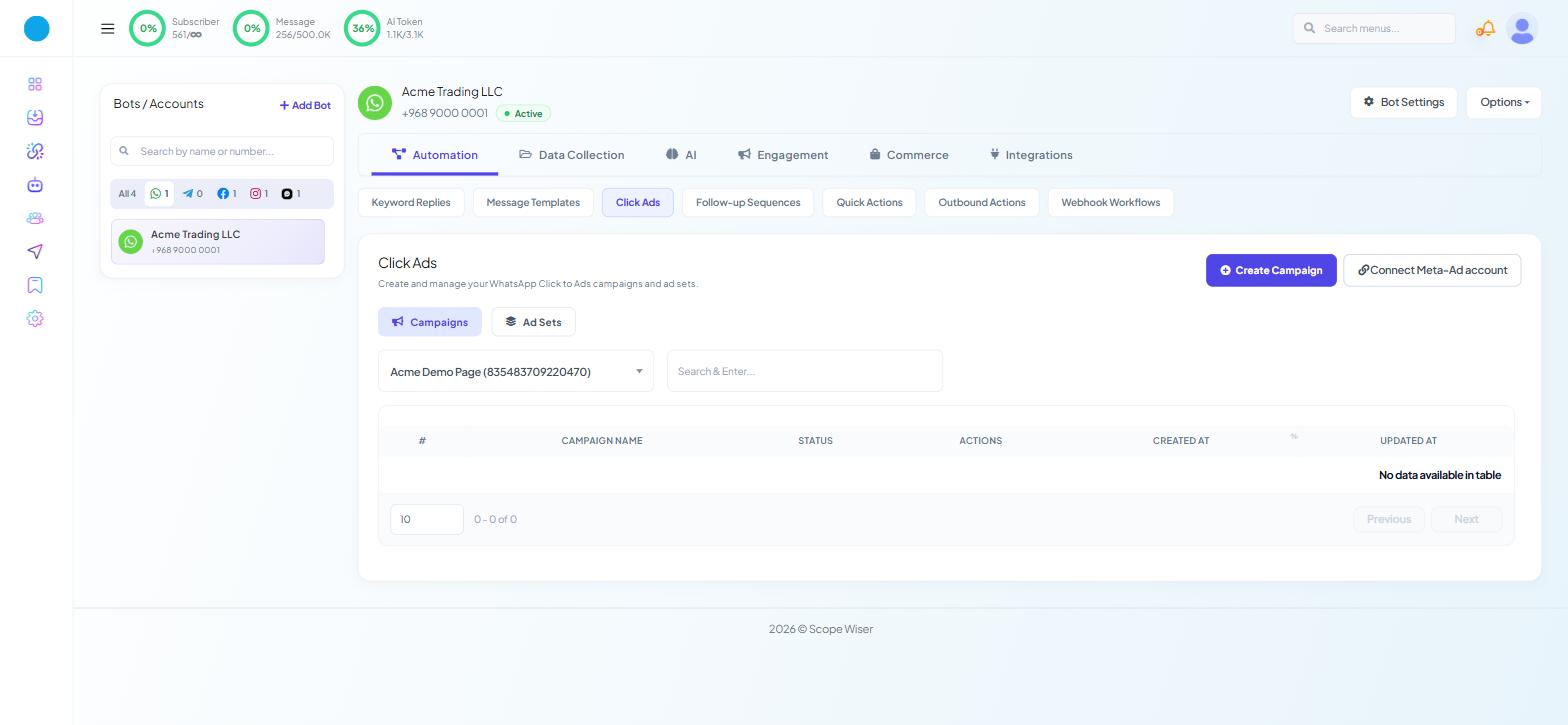
Open Chatbot Manager and select your WhatsApp bot in the left-hand Bots / Accounts panel. Go to the Automation tab, then the Click Ads sub-tab.
Click Ads appears on WhatsApp bots only. It is not in the Automation tab of a Facebook, Instagram or Webchat bot, even though the ads themselves run on Facebook and Instagram — the module belongs to the number the conversation lands on.
Two buttons sit at the top: Create Campaign and Connect Meta-Ad account. Below them, two inner tabs, Campaigns and Ad Sets, and an ad-account selector.
Set the ad account selector before you create anything. It decides which account the campaign is built in and which budget it spends. The Campaigns table lists what exists — #, CAMPAIGN NAME, STATUS, ACTIONS, CREATED AT and UPDATED AT — with a Search & Enter... box and a page-size control.
If the selector is empty, use Connect Meta-Ad account first.
Building the campaign
Create Campaign opens a four-step flow: campaign, ad set, creative, ad. Each step ends with a Next.
Step 1 — Campaign.
Campaign Name — something you will recognise in the table later.
Objective — choose Engagement. It optimises for conversations, which is what this ad is for.
Special Ad Categories — this applies only to credit, employment, housing, social issues, elections and politics. If none of those describes your business, select None; declaring a category you do not need restricts targeting for no reason.
Status — set it to Paused if you want to review the whole thing before it spends anything. You can switch it to Active later.
Step 2 — Ad set. Budget, schedule and audience.
Bid amount — the most you will pay for a result.
Budget type and amount — daily or lifetime. Daily is easier to control while you are learning what a conversation costs you.
Optimisation goal — Conversations or Impressions. Conversations is almost always the right answer here; impressions optimises for being seen by people who will never message.
Page — the Facebook Page the ad runs from. This must be the Page your WhatsApp number is linked to.
Start and end time, and the ad set status.
Target audience — country or group of countries, plus optional tags and custom audiences.
Step 3 — Creative. Ad header, primary text, description and image, then the welcome message type. This is where a Click-to-WhatsApp ad differs from any other ad:
Welcome with autofill message — the chat opens with a message already typed. The person taps send and you receive a predictable, identical first message, so a single keyword can trigger a single flow.
Welcome with ice breaker — the chat opens showing up to four tappable questions. The person picks one, which tells you their intent before you have asked anything.
Icebreakers qualify better. Autofill is simpler to wire up. If you are running your first campaign, start with autofill and move to icebreakers once you know what people actually ask.
Step 4 — Ad. Set the ad status and finish. Preview the ad across placements before you publish — mobile feed, desktop feed, Instagram and right column render very differently.
Setting up icebreakers
Icebreakers are a Meta feature, configured against your phone number rather than in Scope Wiser.
Go to Connect Account → Connect WhatsApp, expand Business Accounts and click Manage Account to reach Meta's WhatsApp Manager.
Open Phone Numbers, click the settings icon beside your number, and find Icebreakers under Automations.
Add up to four questions and save.
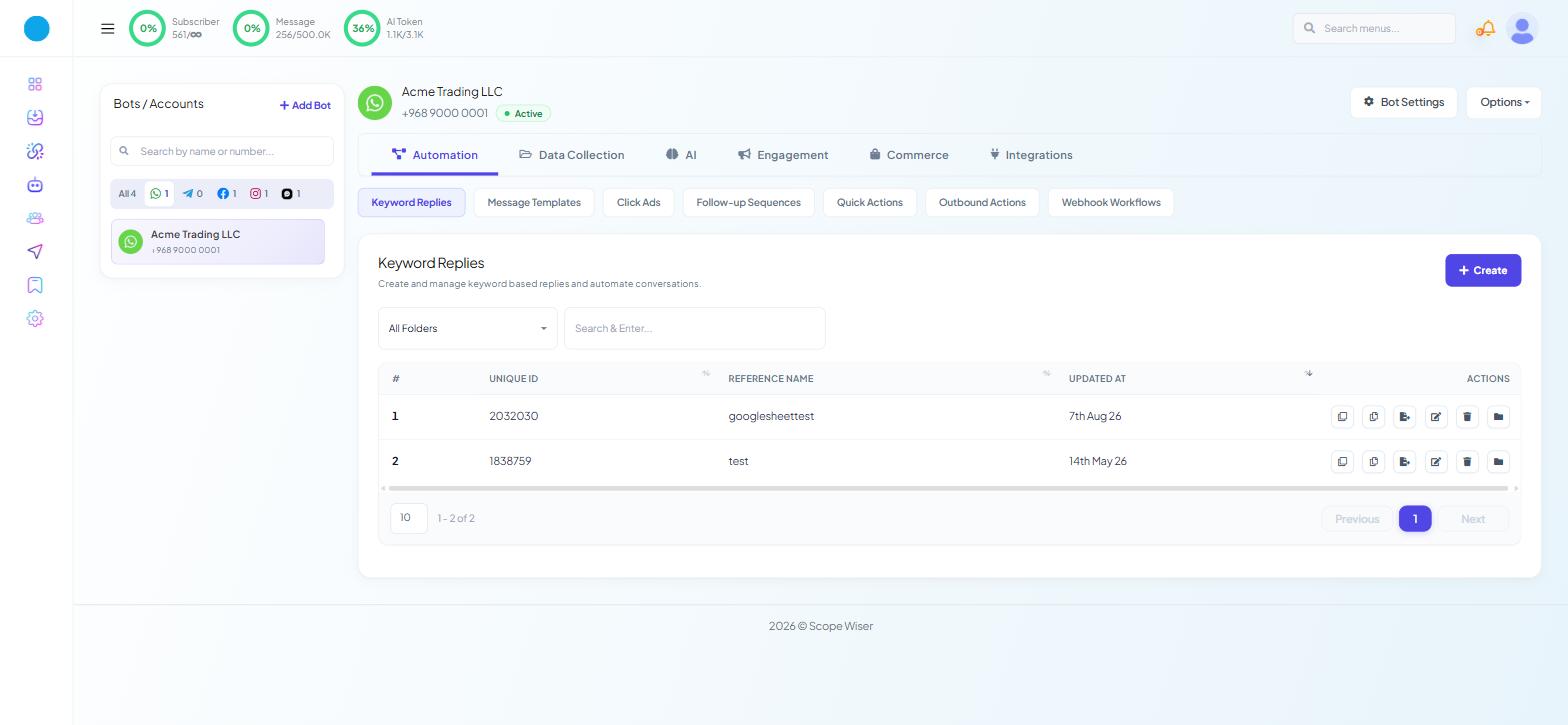
Back in Scope Wiser, go to Chatbot Manager → Automation → Keyword Replies and create a reply for each question, using the icebreaker's wording as the keyword so that tapping it triggers the matching flow.
Icebreakers show only to a number that has never chatted with you, so test from a new number. Confirm the icebreakers appear, and tap each one to check the right flow starts. An icebreaker with no matching reply produces silence at the precise moment you have paid for someone's attention.
Reading the results
Once the campaign is live, the Campaigns table gives you status and timestamps, and the campaign's own detail view carries the ad preview and performance figures — clicks, impressions, spend, reach, CPM, CPC and CTR.
Watch two things:
Cost per conversation = spend ÷ chats started.
If chats die after the first message, fix the flow in Flow Builder and label contacts as they arrive (Subscriber Manager → Bulk Actions → Assign Label).
What to do next
Introduction to Flow Builder: How Scope Wiser Flows Are Built is where you improve the conversation those clicks land in. If you want a free equivalent of the same idea on your own site, Website Chat Widget: Create, Embed & Manage covers the widgets that do it.