
Exporting Flow Data to Google Sheets
Send what your flow collects straight into a Google Sheet — connect the account, switch on Sync Data to Google Sheets, and test one submission. Includes the difference between writing to a sheet and fetching from one.
This article shows how to send each flow submission into a Google Sheet as it happens.
Two different Google Sheets features
Scope Wiser has Google Sheets in two places and they do opposite things. Sorting this out first will save you an hour.
Writing out — this article. Sync Data to Google Sheets is a field inside flow configuration panels. It takes what a subscriber gave you and appends it to a sheet.
Reading in — not this article. Google Sheet Data Fetch is a block in the Flow Builder's INTEGRATIONS palette group, configured under Chatbot Manager → Integrations → Google Sheets, whose heading reads Google Sheet Data Fetch Campaigns — "Connect your google sheet for data fetching campaigns." It pulls rows out of a sheet so a flow can show them — order status, a price list, a roster. It does not save anything. See Google Sheets: Connect, Import and Use Data in Replies.
Both need the same connected Google account. Neither substitutes for the other.
Step 1: Connect the Google account
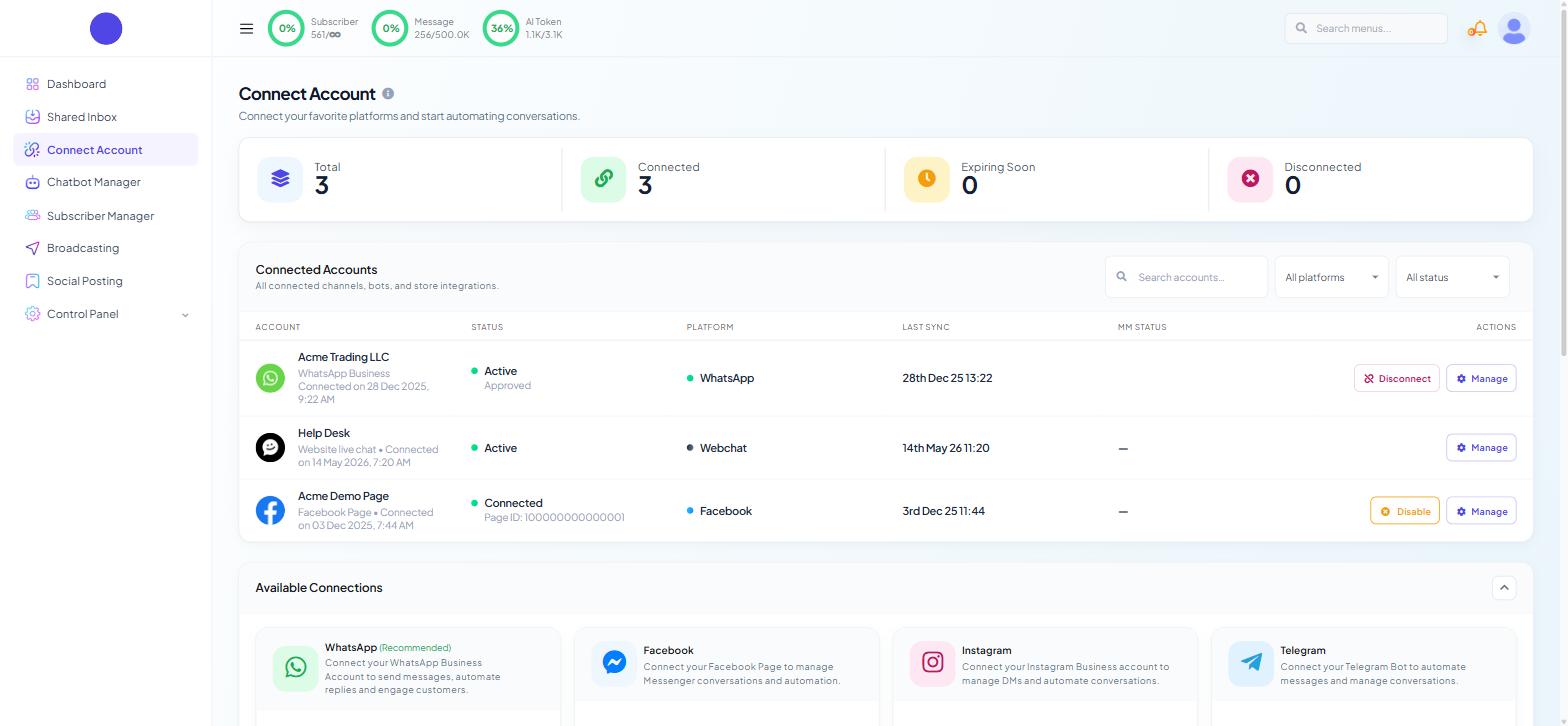
Go to Connect Account in the sidebar, then Connect Google →. You land on Google Integration — "Connect and manage your Google accounts, sheets, and calendars."
On the Connect Google Account card — "Connect your Google account by simply clicking the button below." — click Sign in with Google and complete Google's consent screen.
Once connected, the Google Sheets section — "List of Google Sheets" — lists what Scope Wiser can see, with columns SHEET TITLE, ACTIONS, CREATED AT and MODIFIED AT. Use Create New Sheet to make a fresh spreadsheet in the connected account, or Add Existing Sheet to bring in one you already have.
Prepare the sheet before you point a flow at it. Give the first row plain column headers — short, no leading or trailing spaces, no merged cells — and leave the rest of the tab empty. Rows are appended to the bottom, so anything below your headers will eventually sit under a growing list of submissions.
Step 2: Collect the data into custom fields
Nothing reaches a sheet unless it was captured first, and capture means custom fields.
Build the questions as a User Input Flow: Chatbot Manager → Data Collection → User Input Flows, then + Create. Each question stores its answer in a custom field — one field per question, named for what it holds rather than for the question wording. Fields are managed at Subscriber Manager → Manage → Custom Fields and can also be created inline; the flow panels carry a + Add new field link beside the field selector.
Name fields to match your sheet's column headers where you can. It makes a mistake obvious at a glance instead of three days later.
Step 3: Switch on the sync
Sync Data to Google Sheets appears in the flow configuration panels, not as a block on the canvas. There are two places you will meet it.
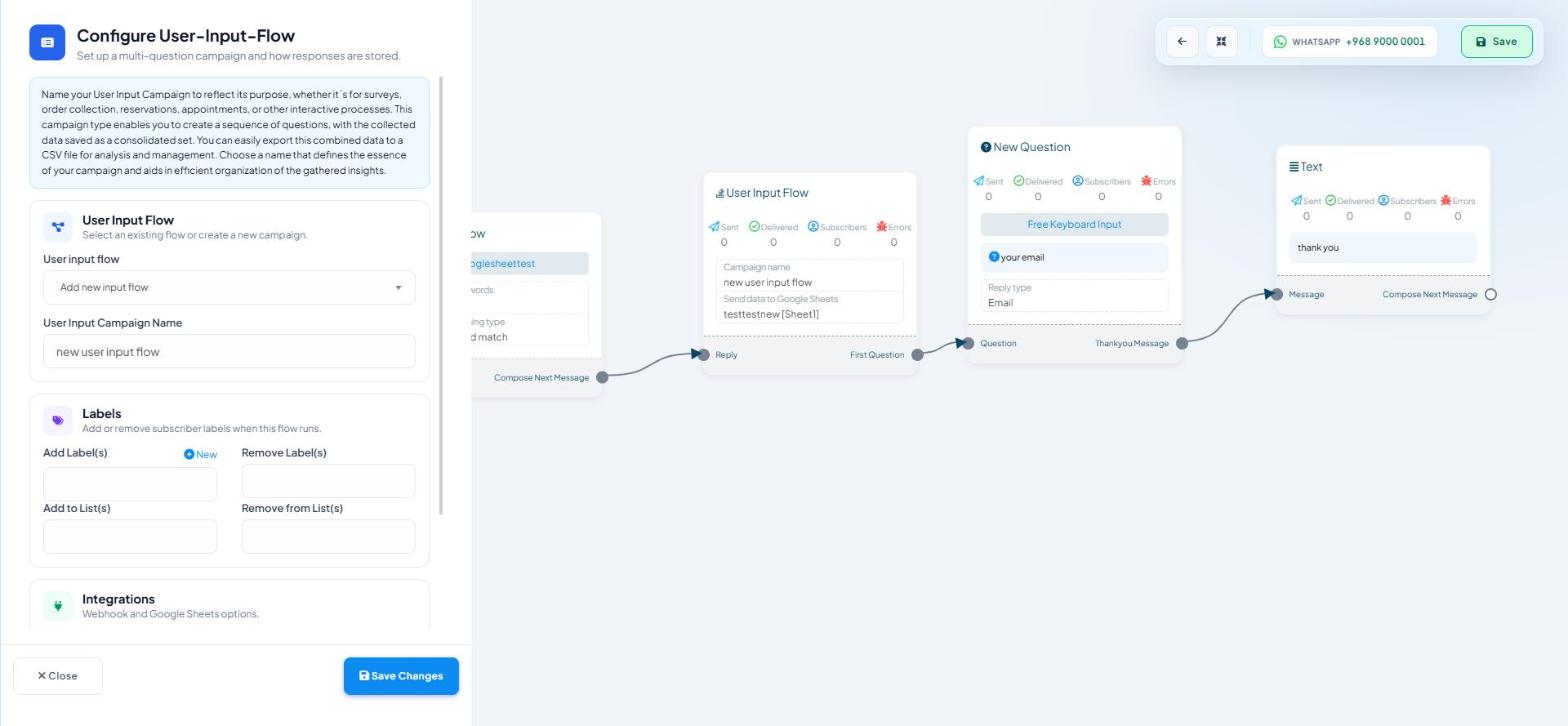
On the User Input Flow block. Open the block and the panel reads Configure User-Input-Flow — "Set up a multi-question campaign and how responses are stored." It has three cards: User Input Flow ("Select an existing flow or create a new campaign."), Labels ("Add or remove subscriber labels when this flow runs.") and Integrations ("Webhook and Google Sheets options."). The third card holds Forward Data to Webhook — placeholder https://your-webhook-url.com — and Sync Data to Google Sheets, marked with a Google icon.
On the Start Bot Flow node. Clicking it opens Configure Reference — "Define how the bot should identify and respond to user inputs." Scroll to Data & Integrations, badged Optional: "Store data in custom fields or send to external tools." The same three controls sit there — Save to Custom Field, Forward Data to Webhook and Sync Data to Google Sheets — applied to the reference rather than to one input campaign.
Choose your sheet in Sync Data to Google Sheets, click Save Changes to close the panel, then click the blue Save in the canvas toolbar. Skipping the second one is the most common reason a sync that "was definitely set up" never fires.
A per-bot alternative
If what you want is every new subscriber in a sheet rather than the answers to one flow, use the Google tab in Bot Settings instead. It is a bot-wide setting, so it captures subscribers regardless of which flow they came through — the steps are in Bot Settings Explained: All Eight Tabs. Use it for a contact list; use the per-flow sync for structured answers.
Step 4: Test one real submission
Do this before anyone else sees the flow.
Trigger the flow from your own number on the channel it will run on and answer every question.
Open the sheet. A new row should appear within moments of the last answer.
Check the values are under the right headers — not merely present. A shifted column is the failure mode that survives longest unnoticed.
Open the subscriber in Subscriber Manager and compare the Custom Fields tab against the row. Blank in both means the question never stored its answer.
What the sync does not do
It writes once, at submission. If a subscriber tells you a different email tomorrow, the existing row is untouched. You will need a fresh submission to record the change.
It does not backfill. Switching the sync on today does not export what was collected last week. Use Subscriber Manager → Export/Import → Export all as CSV for the history.
It does not deduplicate. Someone who runs the flow twice produces two rows. Handle that in the sheet, or gate the flow behind a Condition that checks a label you assign on completion.
What to do next
Different flows can write to different sheets, so once one is working the pattern is worth repeating rather than funnelling everything into one tab. To read data back out of a sheet inside a conversation, read Google Sheets: Connect, Import and Use Data in Replies; to display what comes back as a tappable list, read Displaying Dynamic Lists From an API.